|
Quick start |
|
The standard should be enough:
Click OK to continue. |
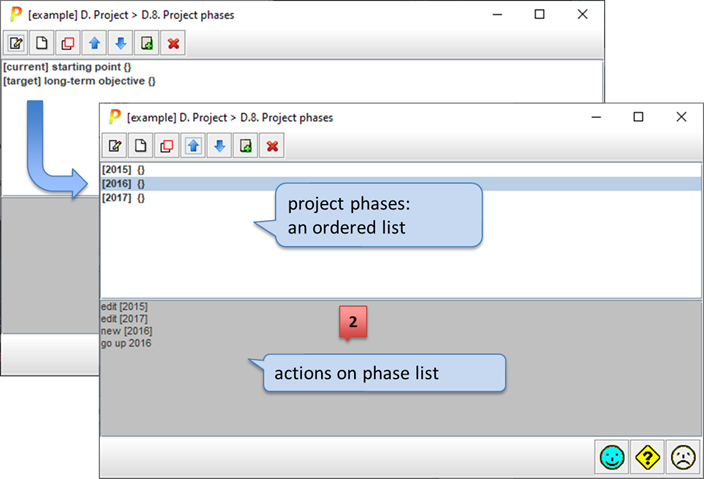
Let us identify the phases of the project, to show risk evolution. At least, there is always a base phase, which shows the current situation. Then several phases mark the future evolution.
You may identify and assign values to backup equipment and safeguards in each phase.
There are several ways to use the phases:
§ as different stages of a project to improve security; that is, to review the progress of risk as security improvement programs are executed
§ as historical, for example for years, to present the progress of system security
|
|
Click to edit the selected phase. See “Edit one phase”. |
|
|
Click to create a new phase. See “Edit one phase”. |
|
|
Click to clone the selected phase. A new phase is created that inherits all the values associated to the original one. Then you may edit to adjust. |
|
|
to move a phase up (before the previous one) also SHIFT + UP_ARROW (one or more phases) |
|
|
to move a phase down (after the next one) also SHIFT + DOWN_ARROW (one or more phases) |
|
|
Click to merge two phases into one. It merges the selected phase with the following one. This action is typically used before a phase is removed in order to use the values of the disappearing phase into the next phase(s). |
|
|
Remove the selected phase. |